Steps and facts
- Open Website Chat. Enable website chat, set the assistant name and welcome message, choose color and position, and save.
- Choose one of ten ready-made portrait avatars or upload your own JPEG, PNG, WebP or GIF image up to 8 MB. Preview the result before saving.
- Choose the voice language and enable voice input and spoken AI replies if you want browser voice conversation. Browser and device support can differ.
- Copy the installation snippet and place it on your website. Add the website to the allowed domains. Use the widget ID from your own workspace.
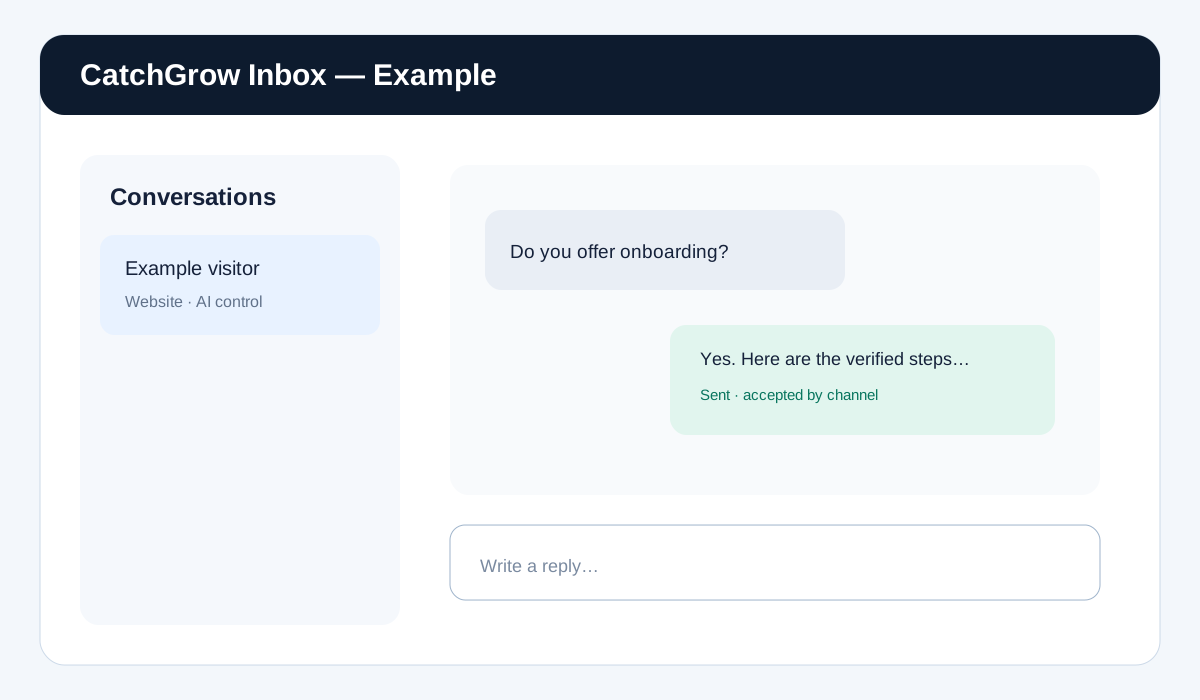
- Click Test chat to open a separate page with the actual widget. Test text, a known product or service question, the page links, and human takeover. Messages appear in Inbox and follow the workspace's AI and CRM settings.
- The large Start talking microphone starts the voice interaction after browser microphone permission. Stop talking ends it. This browser widget uses supported browser speech recognition and speech synthesis; it is separate from external telephone integrations.
- Recommendations can contain up to six relevant cards with verified links and available page or product images. A missing price or image must not be invented.
- If no answer appears, inspect Inbox for a draft, human takeover, usage limit, balance or delivery error. Seeing Sent on the incoming message is not proof of an AI response.